

Special Eggdition
The Easter centerpieces just got a whole new look!
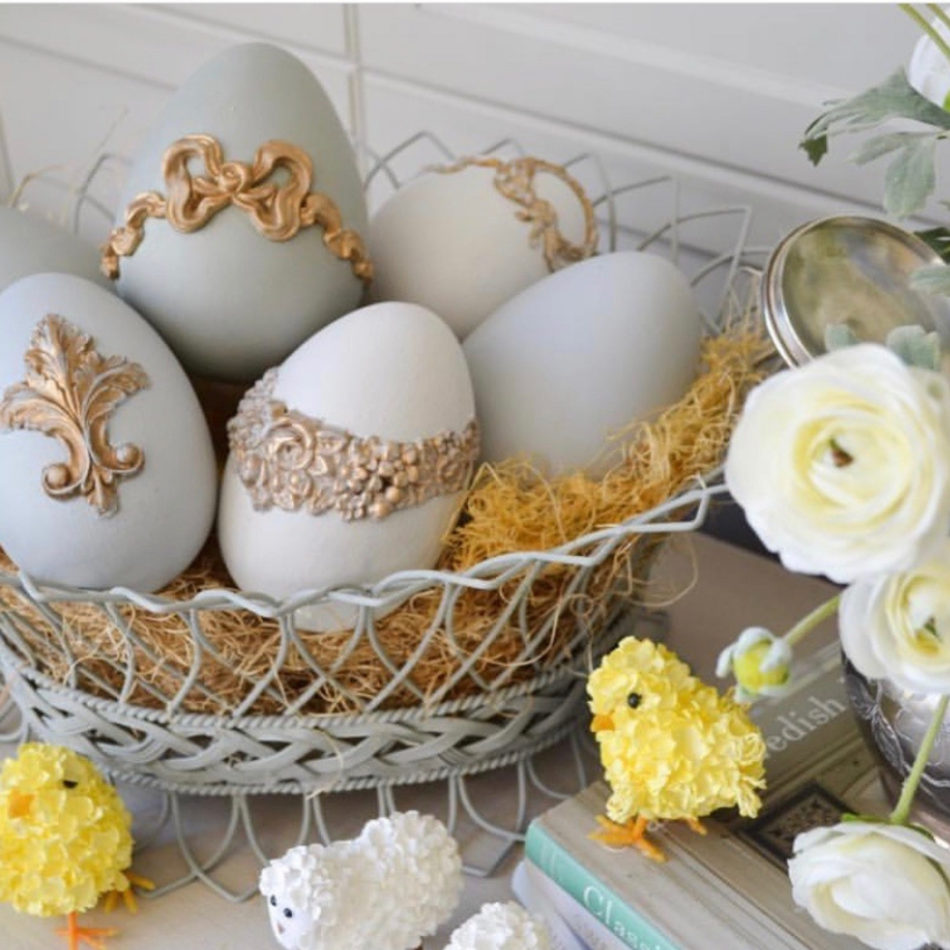
Spring has sprung at the Southern Institute of Faux Finishing where my friend Virginia has been so very clever making these French Easter Eggs. The beautiful spring colors of Easter – soft pastels are perfect for this seasonal holiday.
Today we hare sharing step by step how Virginia and Laurens’s tutorial on got this elegant spring centerpiece.
When you’re finished, you will have the most beautiful Easter table setting with these handpainted, embellished Easter eggs. In fact, you could also decorate your Easter basket like we did last spring. Read about the basket here.
What you’ll need:
1) Paint and Wax in light pastel colors
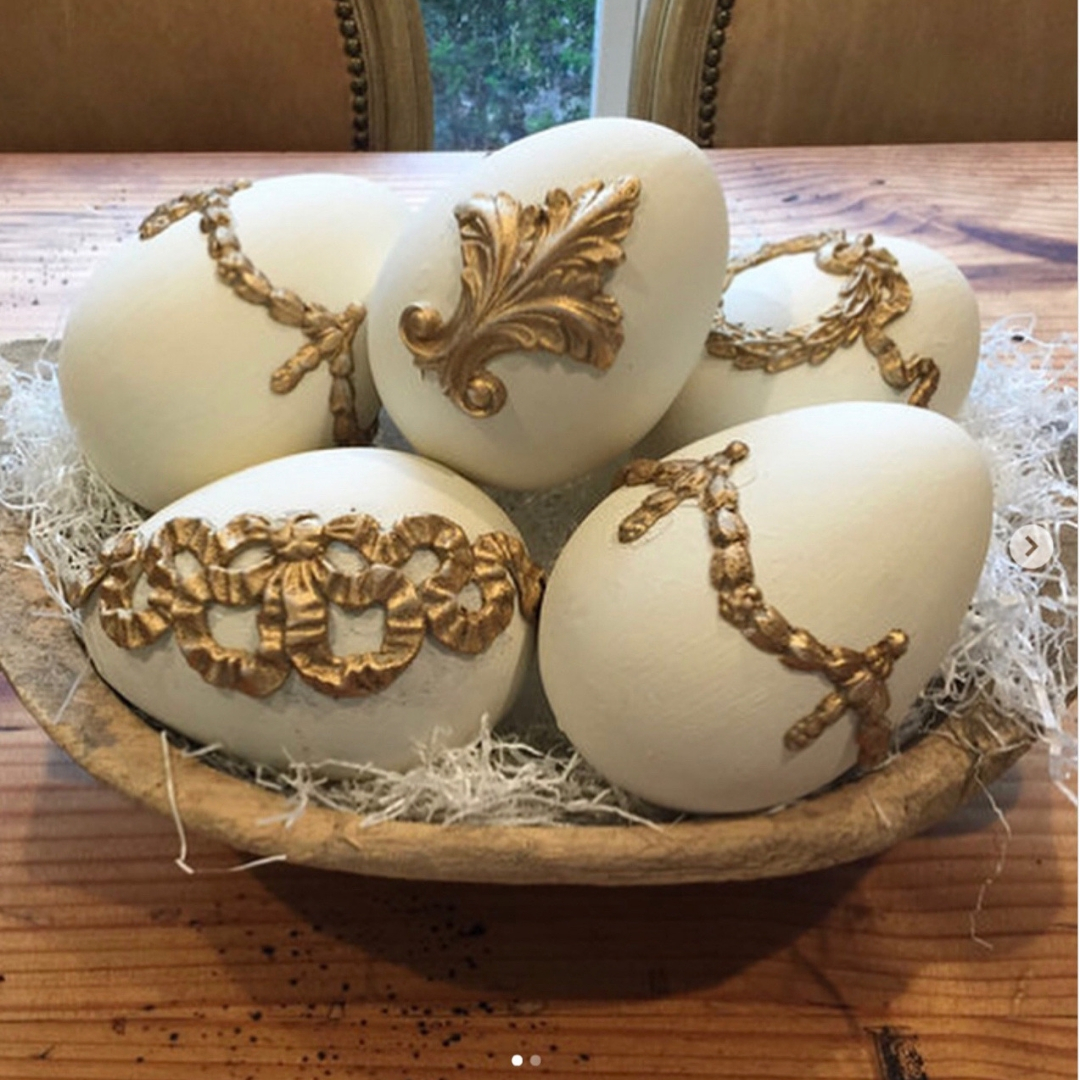
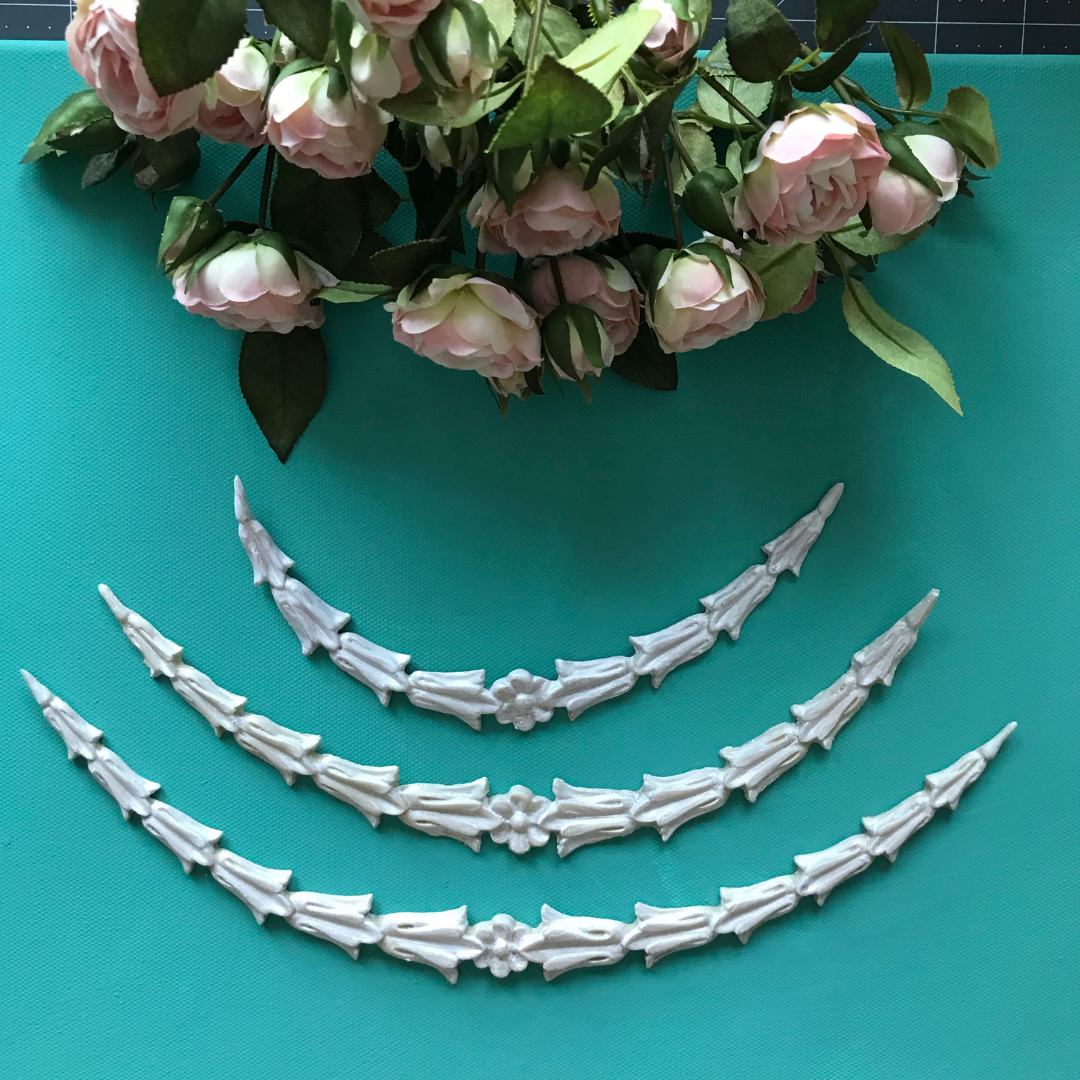
3) Efex Appliqués: Bow B1, Bow B14, Swag SW7, Fleur De Lis FDL1
4) DAP Contact Cement
5) French Gilding Wax
Step 1: Paint the egg smoothly.
– We recommend 2 coats to get the most out of your chosen color.
Step 2: Apply Gilding Wax to Efex Appliques
Step 3: Trace the design onto the egg.
– This is done by placing your Efex where you plan to attach it to the egg, and then tracing around the shape lightly with a pencil.
Step 4: Apply DAP Contact Cement
– Apply the cement to the back of the Efex and inside the traced design.
– Don’t stick on your Efex yet! Allow the cement to set for 10 to 12 minutes.
Step 5: Stick the Efex to the egg
– Handle with care placing the Efex exactly where you traced it. The Efex are hard t to remove if you accidentally glue it to the wrong place!
Step 6: Touch Ups
– If after placing your Efex in the desired location you can still see tracing marks, use the same paint to touch up those areas.
Step 7: Apply clear wax
– Be careful not to get any wax on the gilded Efex.
Beautiful! May I ask where you purchased the eggs?
Please share where you found those very large eggs. Also, can you share the source or directions for the bunny and chicks in the photo? Love them all!
I meant chicks and lambs.