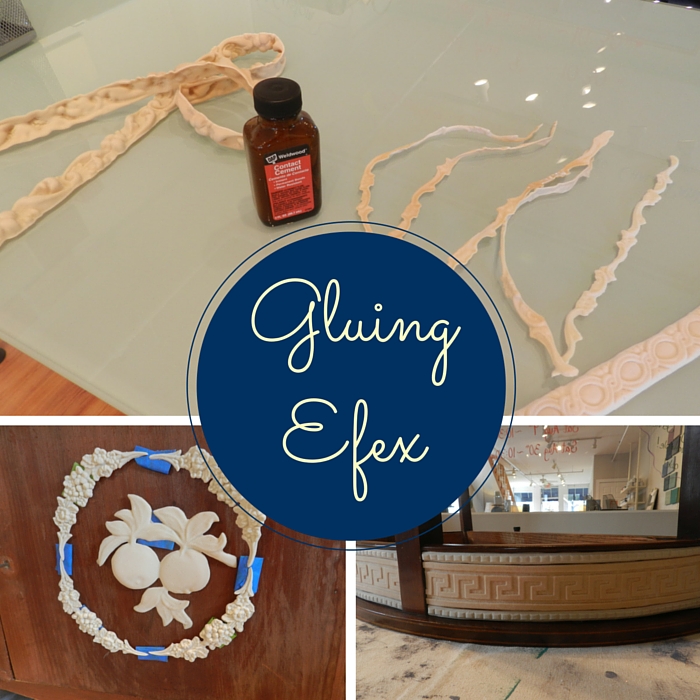
As many of you are new to the Efex world, we thought it would be fun to give a refresher on how to glue these amazing latex bits on. You can glue them on almost any surface; wood, fiberglass, painted surfaces, laminate, glass, metal…the list goes on and on!
So here is your quick and easy guide on gluing Efex:
– Step 1-
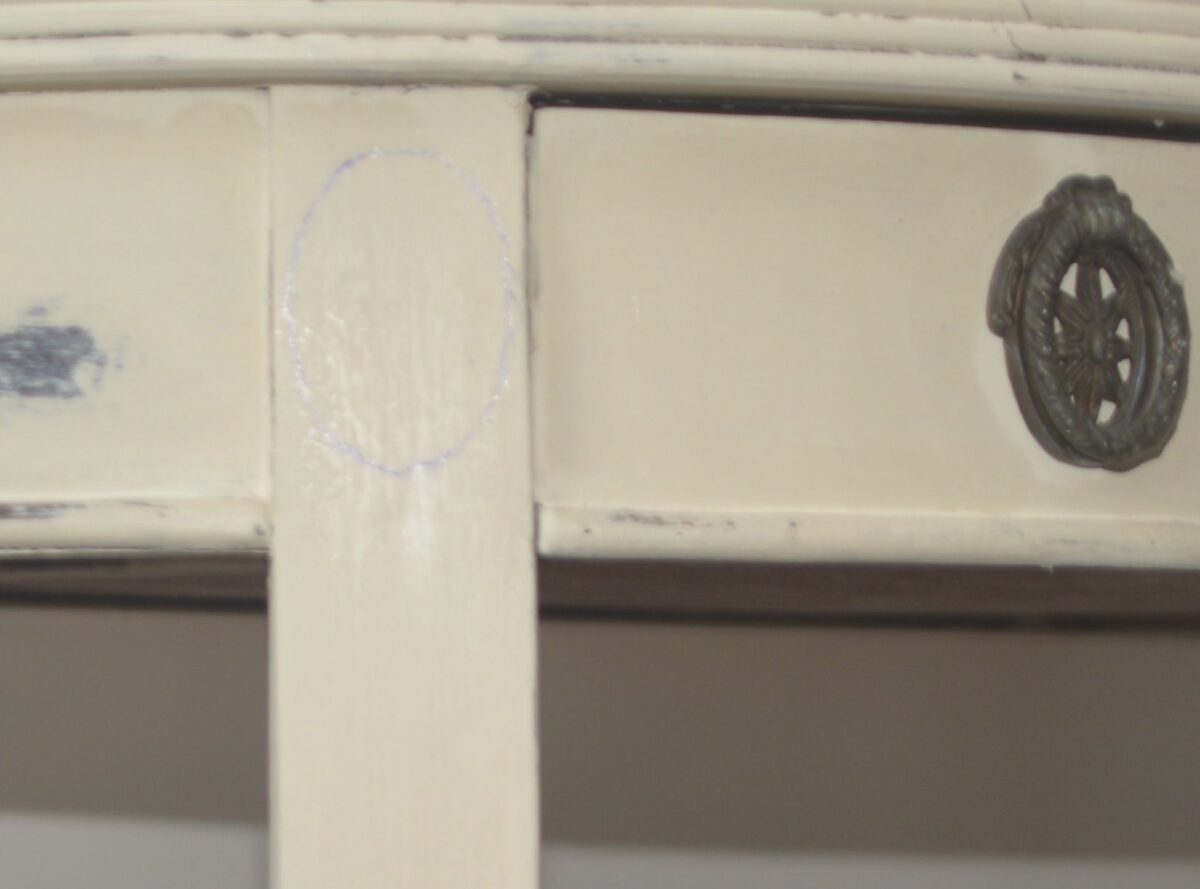
Pre-fit your moldings where you’d like them to go, and trace the outline with a pencil or chalk.
– Step 2 –
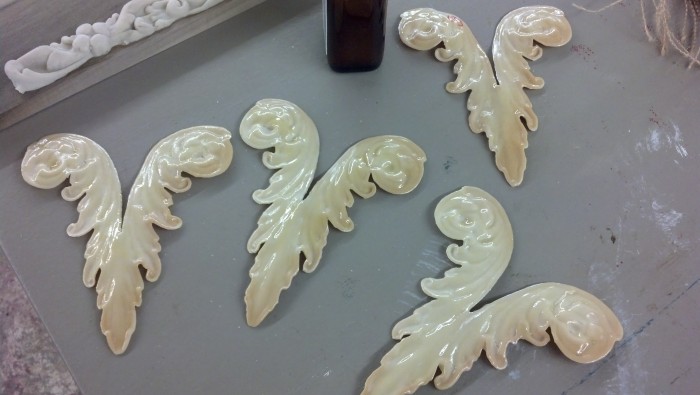
Apply contact cement. This needs to be applied to both the back of the moulding and the surface you’re adhering to. We always recommend using DAP Contact Cement, available at many of our retailers.

– Step 3 –
Once the contact cement is dry to touch place your moulding where you traced. Temperature and humidity will make a difference with how long it takes for the glue to dry. It’s usually around 15 – 30 minutes. If the glue is still tacky you won’t get a great bond, so be patient! You have a little time to fiddle with it as long as you haven’t pressed down too hard. When it’s where you want it to press down on your Efex, paying special attention to the edges.
Once the moulding is on you can start painting or staining right away. If you need to clean up the contact cement use odorless mineral spirits.
That’s it. Easy peasy. Any questions class?


